Welcome to Spoonful of Asia! Here, I turn those addictive food videos (like Mochi Ice Cream) you can't stop watching into recipes you can make at home. If you're like me, you've been glued to those quick cooking videos that make everything look so easy. The problem? It's hard to catch all the steps in a short clip!
That's why I created this site. I take those viral TikTok and YouTube Shorts and turn them into step-by-step recipes. No more hitting pause a million times to figure out measurements!
Today, we're looking at one of Japan's best treats that's now trending online: Mochi Ice Cream. But not just any mochi ice cream—this is the super simple 2-ingredient version that everyone's talking about!
Think making mochi needs fancy tools or hard-to-find items? Think again! This recipe from "feed meimei" uses just TWO things you likely already have: ice cream and glutinous rice flour. That's it!
For busy moms who want to make something special without spending too much time or money, this recipe is perfect. These sweet, chewy treats cost much less than store-bought ones. Plus, your kids will think you're amazing when you make them!
I've tried hard mochi recipes before and failed. But this method is so easy, almost anyone can do it. The old way needs hours of steaming rice, but this quick version gives you the same chewy texture in minutes.
Below, I'll show you how to make this trending recipe step by step. Whether you've loved mochi for years or are just curious about this Japanese dessert, this post has all you need to know!
Mochi is a Japanese rice cake made from sticky rice (called "sweet rice" or "mochigome"). It's been part of Japanese food for hundreds of years but has become super popular worldwide lately—mostly in its ice cream form.
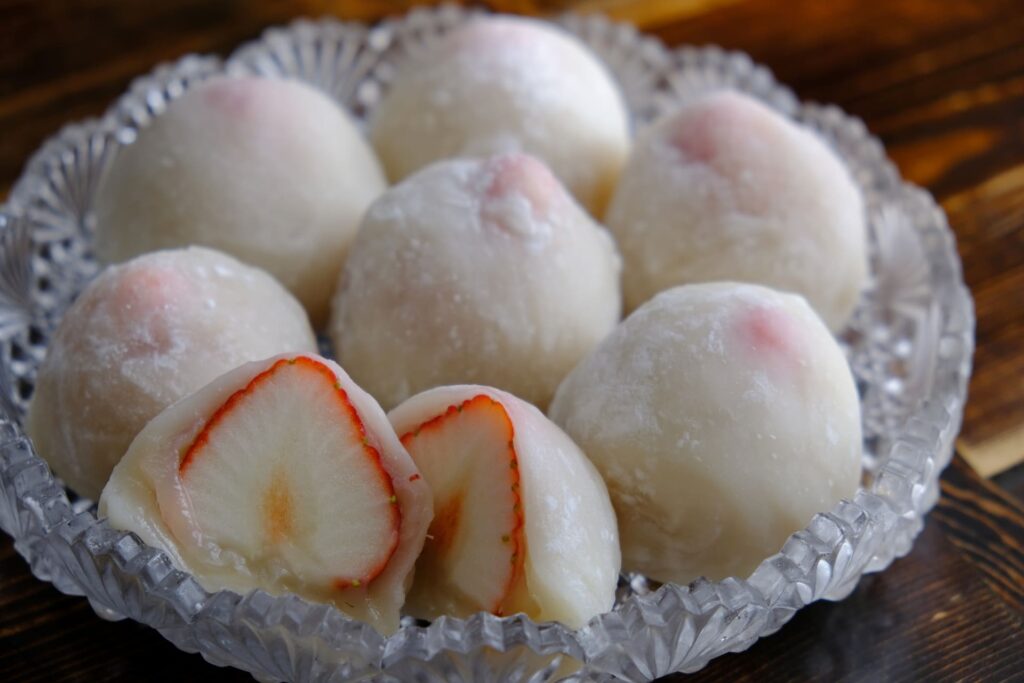
What makes mochi so special is how it feels when you eat it. It's chewy and soft, kind of like a marshmallow but with more bite to it. When wrapped around ice cream, you get this amazing mix of chewy outside and cold, creamy inside. No other dessert gives you this fun mix of textures!
In Japan, making mochi is often a big event. During New Year's, people gather for "mochitsuki" parties where they steam rice and pound it with wooden hammers. This tradition goes back for many years. The pounding isn't just to make food—it's also a fun show!
But here's the good news: while old-school mochi-making takes a lot of work, this TikTok version needs just two things and about 15 minutes. It's a great way to try Japanese cooking without hard steps or pricey items.
If you're watching your wallet (and who isn't these days?), store-bought mochi ice cream can cost $5-$8 for just six pieces. Making your own costs much less—just cents per piece if you use ice cream you already have!
What I love most is how you can change up this recipe. While common mochi ice cream flavors like green tea, red bean, and vanilla are tasty, this method lets you use any ice cream flavor you like. Want chocolate chip cookie dough mochi? Go for it! Coffee mochi for an afternoon treat? Yes, please!
What makes this 2-ingredient recipe from feed meimei so great is how it skips the old mochi-making ways but still gives you that real chewy texture we all love. Let's look at why it works so well!
The secret is in the glutinous rice flour (also called sweet rice flour or mochiko). Despite its name, this flour has no gluten at all. It's the high amount of starch that makes mochi stretchy and chewy. When you add water and heat to this flour, the starch soaks up the water and creates that classic mochi feel.
In old-style mochi-making, rice is soaked all night, steamed for hours, then pounded. This TikTok method cleverly uses melted ice cream as both the liquid and the flavor. The fat in the ice cream also helps make a softer mochi that doesn't get hard quickly in the freezer.
The microwave step is key for cooking the starch in the rice flour. When you heat the mix, the starch swells and soaks up the liquid from the melted ice cream. This creates the stretchy texture that makes mochi so special. Without this step, you'd just have sweet rice flour paste!
Many home cooks find mochi hard to make because they get the mix wrong. The beauty of this recipe is the simple 1:1 ratio—equal parts melted ice cream and rice flour. This takes the guesswork out of getting the right feel.
If you've bought mochi ice cream before, you might have noticed it can get tough after sitting in the freezer too long. This homemade version is actually more tender because it doesn't have the extras that store brands use. The trade-off is that it's best eaten within a few days—but they'll likely be gone long before that!
For moms who care about what's in their food, this recipe lets you control exactly what goes into your treats. You can pick organic ice cream, dairy-free options, or low-sugar choices based on what your family needs.
Let's talk about how to make your mochi look great! While this Tik Tok recipe is super easy to make, a few extra touches can turn it from "homemade treat" to "wow-worthy dessert" that looks like it came from a fancy shop!
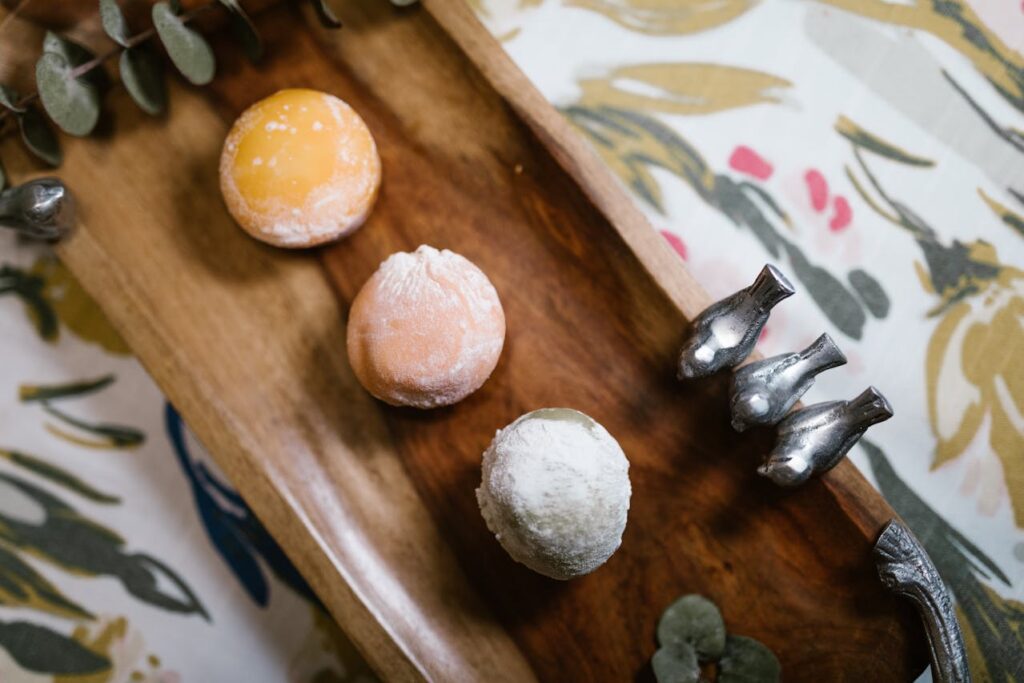
The colors of store-bought mochi ice cream are often soft and pretty. To get this look at home, think about which ice cream you choose. Vanilla gives you a clean white base, while flavors like strawberry or ube (purple yam) add beautiful colors without fake dyes.
Here's a pro tip not in the video: dust your work area with a mix of cornstarch and powdered sugar instead of just rice flour. This stops sticking while adding a light sweetness to the outside. It's the same trick used in high-end Japanese sweet shops!
For that perfect round shape, try using a round cookie cutter before adding your ice cream. Just roll out your microwaved mochi dough to about 1/4 inch thick, cut circles, then place your ice cream in the center. This makes them look store-bought!
Want to make them even better? Try adding a thin layer of sweet red bean paste between the ice cream and mochi wrapper. This is how they're made in Japan! You can find canned sweet red bean paste (anko) in most Asian food stores.
If you're serving these at a party, place each mochi on a small cupcake paper and arrange them on a nice plate with a few fresh mint leaves. Japanese desserts often include bits of nature, so this simple touch makes it feel more real.
How you store them matters too! The recipe suggests using cupcake papers in a muffin tin for freezing. You can also wrap each mochi ball in plastic wrap and keep them in a pretty box. This not only stops them from sticking but also makes them look gift-worthy!
In Japan, how food looks is just as key as how it tastes. Taking a few extra minutes to make your mochi look nice makes the whole treat better—and makes for much better photos to share!
If you want to get your kids in the kitchen, this mochi ice cream recipe is great for family cooking time! With a few simple changes, you can turn this into a fun task that won't leave your kitchen a disaster.
The hardest part of making mochi with kids is handling the sticky dough. To make this easier, set up flour stations for each child with small bowls of rice flour. Teach them the "dust, fold, dust again" method that pro mochi makers use—it's almost like playing with play dough!
For younger kids who might find wrapping hard, try making "mochi pancakes" instead. Just flatten the cooked mochi dough into small circles, let them cool a bit, then let kids top them with small scoops of ice cream to eat right away. It's not the classic style but has the same great taste without the tricky wrapping.
Another kid-friendly idea is making "mochi ice cream pops." Put popsicle sticks into small scoops of ice cream, freeze until firm, then wrap with mochi dough. This gives kids a handle that makes the treats easier to hold without making a melty mess!
What's great about this recipe for busy moms is that you can do it in steps. You can make the mochi dough while your kids are at school, then let them help with the ice cream filling and wrapping when they get home. The dough can be kept in the fridge for a few hours if covered well with plastic wrap.
If you're worried about the microwave step with little helpers, you can do that part yourself and then let kids join in the fun shaping and filling parts. They'll love watching it change from sticky dough to pretty finished treats!
For picky eaters or kids who don't like to try new foods, this recipe is perfect for trying Japanese food. The ice cream they know provides comfort, while the mochi wrapper lets them try new textures. Kids are much more likely to try (and love!) foods they've helped make.
One warning for parents: Regular mochi can be a choking risk for very young children because it's so sticky. For toddlers, think about making tiny versions or serving the parts separately until they're ready for the full treat.
While the TikTok recipe shows ube (purple yam) ice cream, the beauty of this 2-ingredient method is how many options you have! Let's look at some fun flavor ideas that will make your homemade mochi ice cream even better.
For those who love real Japanese flavors, try using matcha green tea ice cream for your filling. The slightly bitter, grassy taste of matcha goes perfectly with the mild sweetness of the mochi wrapper. Add a tiny bit of matcha powder to your rice flour mix to give the wrapper a pretty green color that hints at what's inside!
Feeling bold? Try black sesame ice cream as your filling. This nutty flavor is huge in Japan but still not well known in western countries. The dark gray-black color looks amazing when you bite into the mochi.
For a crowd-pleaser, cookie dough ice cream makes an awesome filling. The chunks of cookie dough add surprise texture inside the already fun mochi outside. It's like a texture party in your mouth!
Coffee or espresso ice cream creates a grown-up flavor that's perfect for an adult dessert. Think about serving these after a dinner party with some green tea for a Japanese-inspired end to your meal.
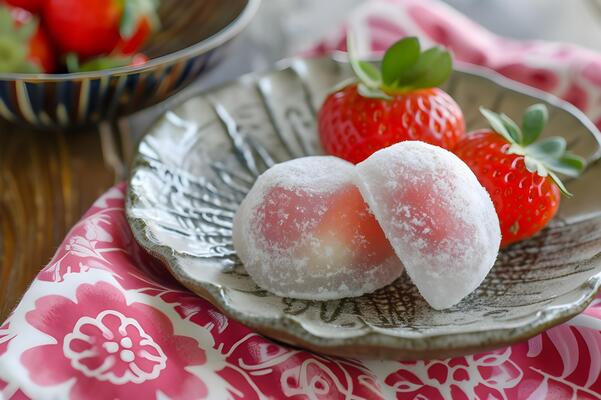
Want to use seasonal flavors? Try pumpkin ice cream in fall, peppermint during the holidays, or fresh strawberry in summer. Eating by the seasons fits well with Japanese food ideas, where foods are enjoyed when they're at their best.
If you're feeling extra creative, try layering two different ice cream flavors inside each mochi. A mix like chocolate and peanut butter creates a yummy surprise when you bite into it!
For those watching their sugar, this recipe works great with low-sugar or keto ice cream options. The mochi wrapper doesn't add much sweetness, so the overall dessert won't taste too different from ones made with regular ice cream.
Don't forget about dairy-free options for those with allergies! Coconut milk-based ice creams work really well in this recipe and add a light tropical flavor that goes well with the Japanese style.
The best part about trying different flavors is that the method stays exactly the same—just swap out the ice cream and enjoy! At around 50 cents per mochi (compared to $1-2 for store ones), you can try lots of flavors without spending too much.
Making great mochi ice cream at home is one thing—keeping it that way is another! Good storage is key for keeping that magic mix of chewy mochi outside and creamy frozen center.
The biggest challenge with homemade mochi ice cream is stopping the mochi wrapper from getting hard in the freezer. Store brands have extras that prevent this, but our clean, two-ingredient version needs a bit more care.
For the very best texture, eat homemade mochi ice cream within 24-48 hours of making it. After this time, the mochi wrapper can start to get icy and lose some of its chewiness. But let's be honest—they probably won't last that long anyway!
The cupcake papers in the recipe serve an important job—they keep the mochi balls from sticking together and help them keep their shape. If you don't have cupcake papers, small squares of parchment paper work just as well.
Serving temperature is key for mochi ice cream. For the best eating experience, take your mochi from the freezer and let them sit at room temperature for 4-5 minutes before eating. This short thawing time softens the mochi wrapper to the perfect feel while keeping the ice cream center properly frozen.
If you're making these for a party, think about storing them in a cooler with dry ice rather than opening your freezer often, which causes temperature changes that can affect texture.
For moms planning ahead, you can make bigger batches and keep them longer by wrapping each mochi ball tightly in plastic wrap before placing in an airtight box. This double protection helps prevent freezer burn and moisture loss.
One clever storage tip: place a piece of bread in the airtight box with your wrapped mochi ice cream. The bread will soak up extra moisture, helping to keep the mochi's texture. Just change the bread every few days if storing long-term.
If you notice your mochi has hardened a bit after a few days in the freezer, don't worry! You can bring it back to life by letting it thaw for a few extra minutes at room temperature or giving it a very quick (5-second) warm-up in the microwave—just enough to soften the outside without melting the ice cream inside.
Remember that homemade versions without preservatives won't last as long as store-bought ones, but the fresh taste and pride of making them yourself more than makes up for this!
Now that you know the secrets behind this trending TikTok recipe, it's time to bring some Japanese magic into your kitchen! This 2-ingredient mochi ice cream isn't just tasty—it's a fun experience that mixes cool cultural history with modern ease.
For busy moms looking to create special moments in the kitchen without spending hours on hard recipes, this mochi ice cream is perfect. The hands-on work of wrapping the ice cream makes it a great activity to share with your children, and the mix-and-match flavors mean everyone can have their favorite.
The next time you're scrolling through Tik Tok and see a yummy recipe that seems too good to be true, remember that's exactly why Spoonful of Asia exists—to test, perfect, and translate those viral videos into kitchen wins for you!
Ready to make these amazing mochi treats yourself? Follow our detailed recipe below, and don't forget to tag us in your creations! We love seeing how you put your own spin on our recipes.
A special thank you to feed meimei for creating the original video that inspired this post. This creative way of making classic recipes simpler makes Japanese food easy for everyone! Be sure to check out their channel for more great food ideas.
Have you tried making mochi before? What's your favorite flavor mix? Let us know in the comments below!
| This 2-Ingredient Mochi Ice Cream is a quick and delicious way to enjoy a chewy, homemade dessert. By combining melted ice cream and glutinous rice flour, you can recreate the trending mochi ice cream at home without any hassle. You can customize it with your favorite ice cream flavor! |
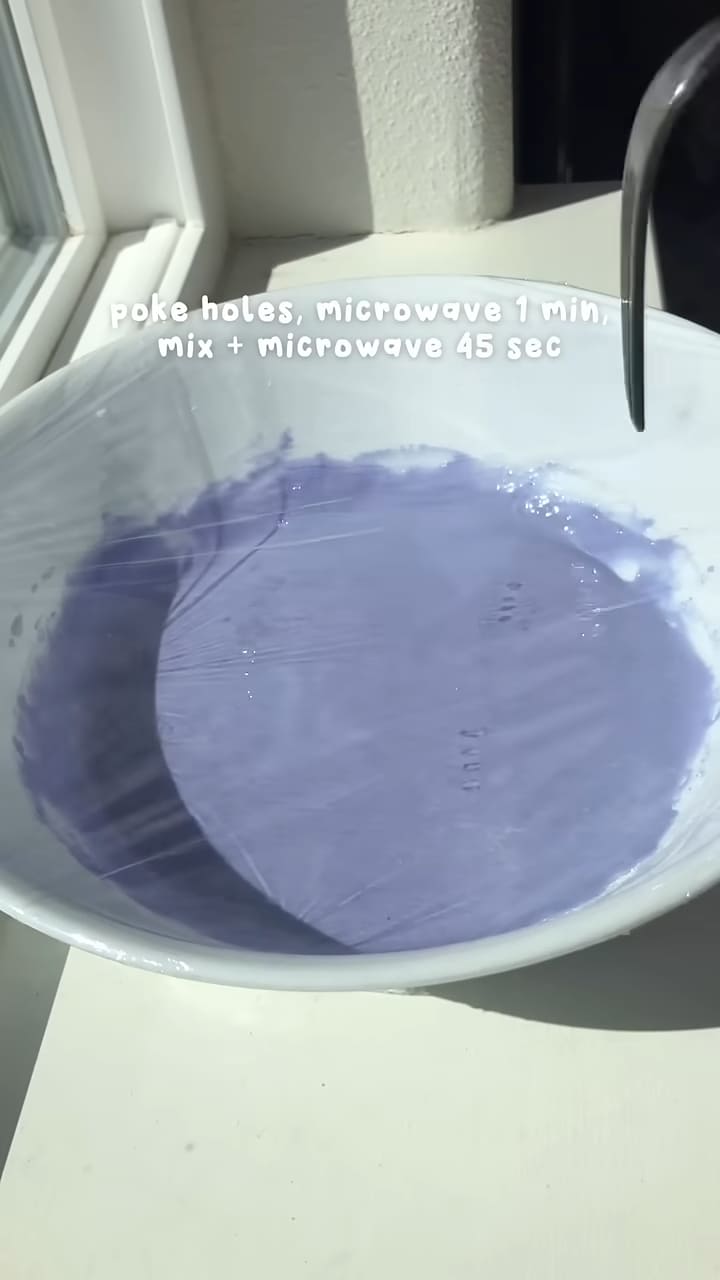 Wrap the bowl with cling wrap, poke small holes with a fork, and microwave for 45 seconds.
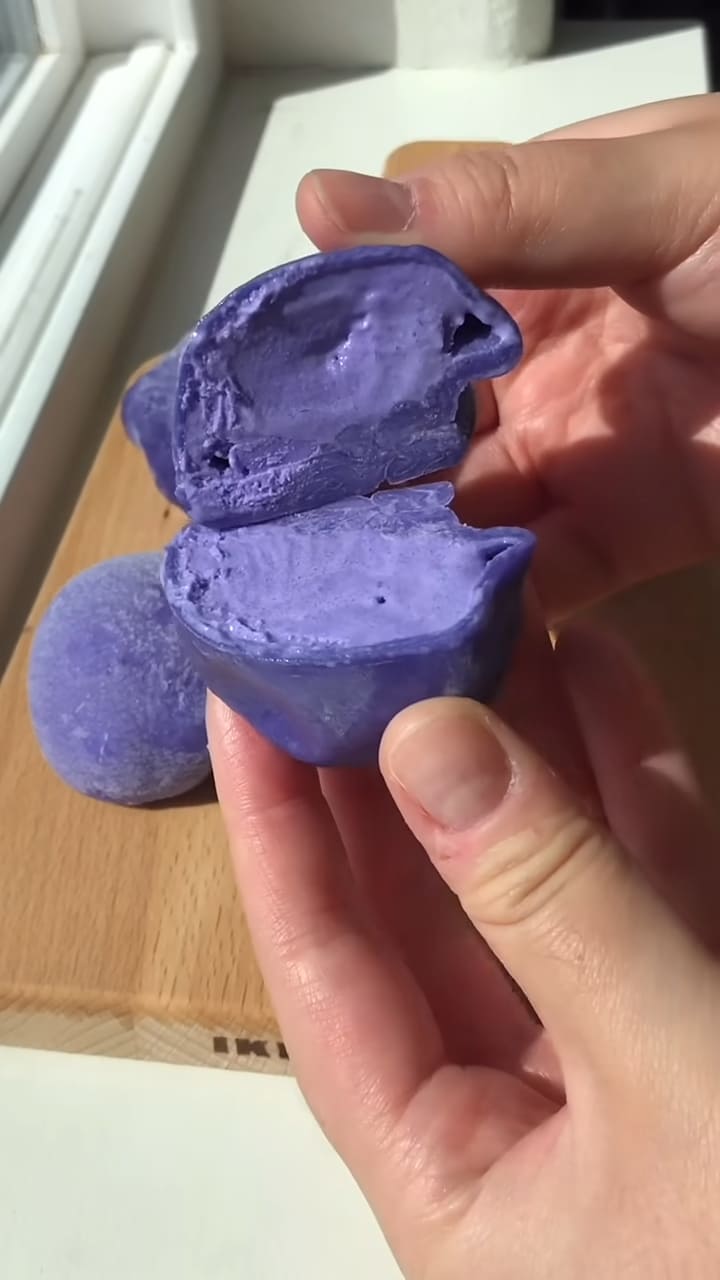 Place each mochi ice cream ball in a non-stick cupcake liner and set them in a cupcake tray. Freeze for at least 2 hours before serving.