If you’ve ever wondered how to make chicken gyoza at home that tastes just like the ones from your favorite Japanese restaurant, you’re in the right place! These crispy-bottomed dumplings are packed with a juicy, flavorful chicken filling and wrapped in a delicate homemade dough. If you’re meal prepping for the week, this chicken gyoza recipe will become your go-to!
Gyoza, originally from China where they are called “jiaozi,” were introduced to Japan in the early 20th century. Unlike their Chinese counterparts, which are often boiled or steamed, Japanese gyoza are typically pan-fried for a delightful contrast between crispy bottoms and soft, juicy fillings. These dumplings have become a staple in Japanese cuisine. It’s served in ramen shops, izakayas, and even at home as a comfort dish.
Making chicken gyoza from scratch might sound intimidating, but trust me, it’s easier than you think—and super fun! Plus, store-bought dumplings can’t compare to the freshness and authentic taste of homemade ones. With this step-by-step guide, you’ll learn the secrets to the perfect pan-fried dumplings! Golden and crispy on the outside, tender and juicy inside, and served with an umami-packed dipping sauce that will have you licking your fingers.
Impress your taste buds (and maybe your guests) with these irresistible chicken gyoza!


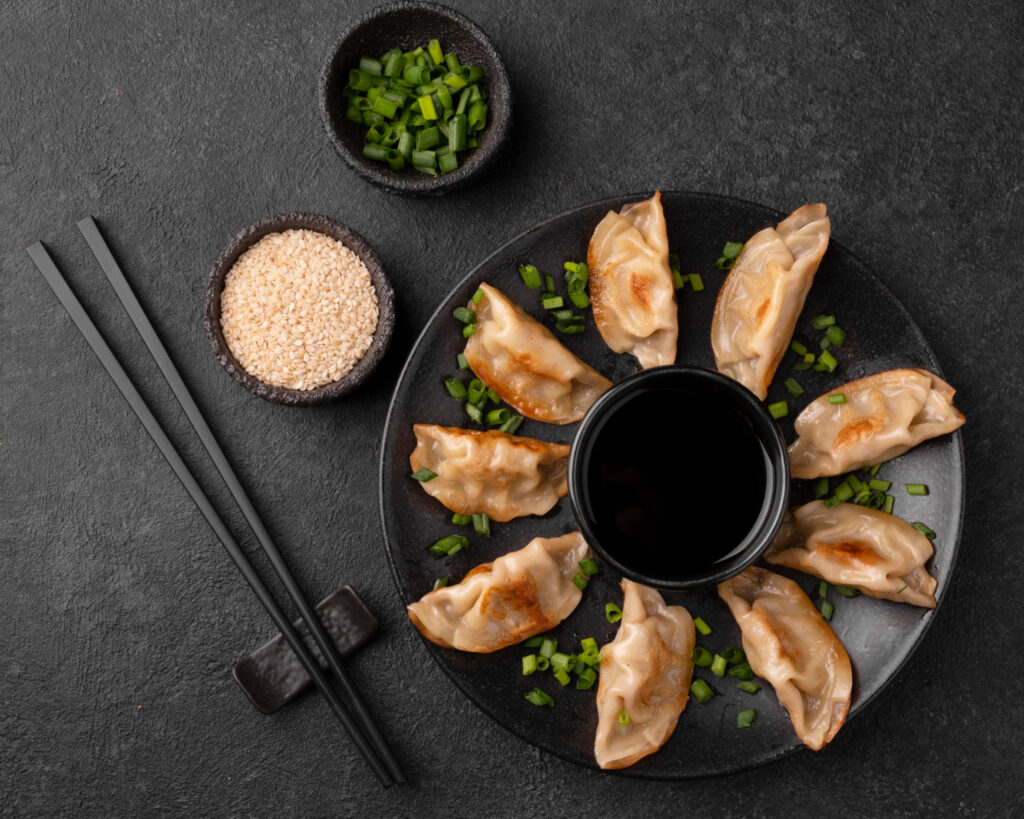
Chicken Gyoza Recipe (Fried Dumplings)
Description
| A step-by-step guide to making homemade chicken gyoza with a flavorful filling. |
Gyoza Dough
Filling
For the Dipping Sauce
Instructions
-
Make the Dough
In a bowl, mix flour and salt. Gradually add warm water while stirring. Knead into a firm dough. Wrap in plastic wrap and let rest for 15 minutes. Knead again, then rest for 1 hour. -
Prepare the Filling
Finely chop the leek, green onion, and garlic. Mince the chicken breast. Combine with ginger, cornstarch, soy sauce, fish sauce, salt, and pepper. Mix well. -
Roll and Cut Dough
Roll out the dough on a floured surface until thin. Cut circles using a 3.5-inch cutter. Dust with cornstarch to prevent sticking. -
Fill and Fold
Place 1 tsp of filling in each wrapper. Lightly wet the edges, fold in half, and pinch to seal, making pleats along the edge. -
Cook the Gyoza
Heat sunflower oil in a pan. Place gyoza flat-side down and fry for 6 minutes until golden. Add 3/4 cup of water, cover, and steam for 10 minutes. Remove lid and let water evaporate. Drizzle with sesame oil and crisp for another 6 minutes. -
Prepare the Sauce
Mix soy sauce, rice vinegar, sesame oil, and green onion in a small bowl. Serve with hot gyoza!